Assembler
 Assembler
The assembler allows writing new code, editing existing code and running arbitrary code.
Usage
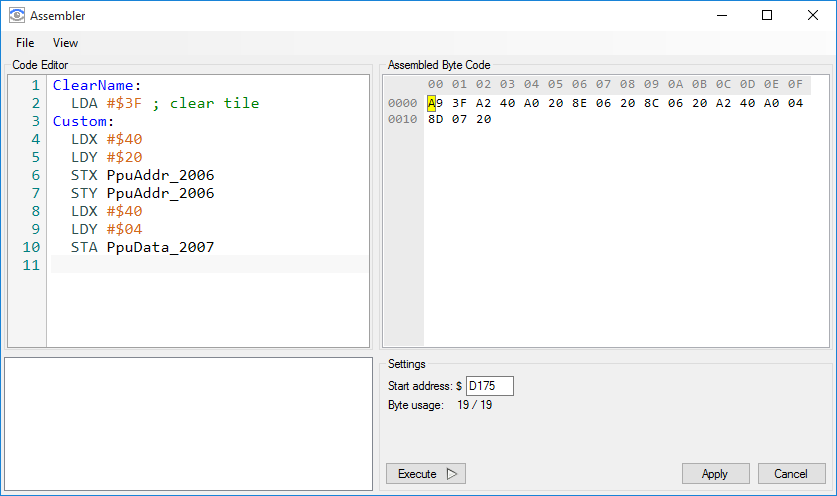
Code is assembled on-the-fly, with the resulting byte code being shown on the right.
Any compilation error will be shown in the list at the bottom – double-click an error in the list to navigate to the line that caused it.
Once you are done editing the code, you can either Execute it, or Apply it. Executing the code will make it run in the $3000-$3FFF memory range (temporarely overriding the PPU’s normal behavior) and break the execution once the code is done executing. On the other hand, clicking Apply will write the code to the specified memory address - this can be used to create new code in RAM, for example, or alter existing code in PRG ROM.
Any changes done to PRG ROM will remain in effect until a power cycle. If you want to save your modifications to a .nes file, or as an IPS patch, you can use the File→Save or File→Save edits as IPS commands in the debugger window.
Note: When editing an existing block of code, the assembler keeps track of how many bytes of code the original code contained, as well as whether or not an RTS instruction was present. If the new code is lacking an RTS instruction, or is too large to fit into the original block of code, a warning will be shown before applying the changes.
Supported features
- All official opcodes and addressing modes are fully supported.
- All unofficial opcodes with well-defined behavior are supported (see limitations below)
- Hexadecimal ($ prefix) and decimal values are supported.
- Labels can be used and defined in the code. When using labels, the assembler will favor zero-page addressing when possible - only using other types of addressing when necessary.
- The
.bytedirective can be used to add arbitrary data to the output.
Limitations
Unofficial opcodes: The assembler supports all unofficial opcodes that Mesen can emulate. However, opcodes that have undefined behavior (and thus are not emulated by Mesen) are not supported. Additionally, name conflicts make it so it is impossible to use any NOP opcode other than the standard NOP opcode.
Defining labels: As mentioned above, it is possible to define labels to use in the assembler. However, these labels are (currently) not permanent - they are discarded once the assembler is closed.
Display Options
Syntax highlighting can be configured (or disabled) via the View menu.
It is also possible to change the font size.