Tools
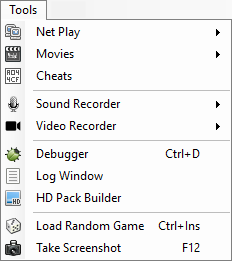 Tools Menu
Netplay
Hosting a game
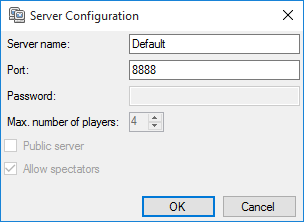 Server Configuration
Server name: This name will be shown to clients when they connect.
Port: The port used for the communication. Mesen will attempt to automatically port-forward this port on your router when you start the server – if this fails, you will have to manually forward the port on your router to allow people outside of your LAN to connect to your server.
The other options on this screen have not been implemented yet and are disabled for now.
Connecting to a server
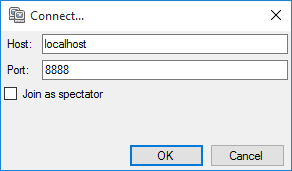 Connect to...
Host: The host name of the server you want to connect to. This is usually an IP address but can also be a domain name.
Port: The port to connect to – this must match the Port value used by the server’s host.
Join as a spectator: When enabled, you will join the server without taking control of a specific controller. An unlimited number of spectators can join a game, but only 4 people can take control of a controller.
Once you are connected to a server, you can select your controller via the Tools→Netplay→Select Controller menu.
Movies
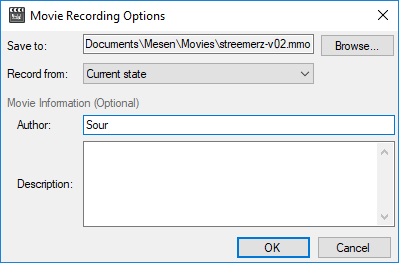 Movie Recording Options
Movies are files that can be created by Mesen and played back within Mesen itself. They are essentially a recording of the events that occurred during recording. To record an actual video file, see Video Recorder.
When you start recording, a configuration dialog is shown that allows you to select a number of options.
- Save to: The location where the movie will be saved. Press the Browse button to change it.
- Record from: Selects where the recording should start:
- Power on: This will reset the game and start recording from the start. Your save data (.sav files) will be excluded from the movie file - after the reset, you will start the game as if it had never been run yet.
- Power on, with save data: This will reset the game and start recording from the start. Your save data (.sav files, etc.) will be included in the movie file.
- Current state: This will start recording from the current state – in this case, the movie file will contain a save state.
- Author: The movie’s author (optional) - this will be saved in the movie file.
- Description: A description of the movie’s content (optional) - this will be saved in the movie file.
To play a movie file, select it via the Tools→Movies→Play command.
History Viewer
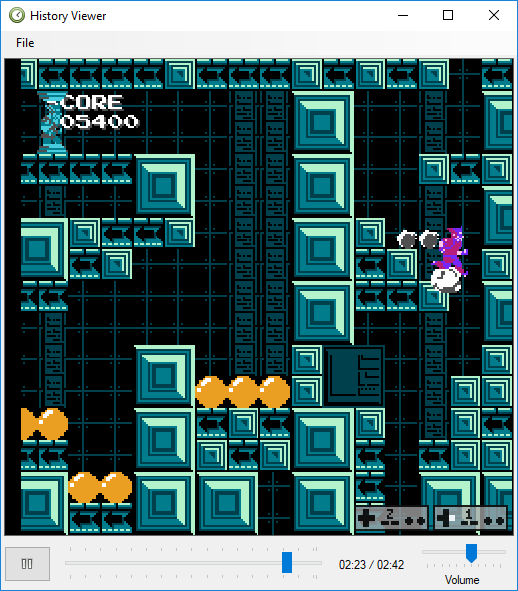 History Viewer
The history viewer allows you to replay (in a video player) any gameplay since the last time you power cycled or loaded a game.
You can start playback at any point in time, and instantly seek to any point in time, too.
To resume gameplay from the history viewer’s current position, select File→Resume Gameplay
To create a save state for the current position, select File→Create Save State
To export a movie (.mmo file) of your gameplay, select File→Export Movie
When exporting a movie, you can select the specific time range you want to export.
Cheats
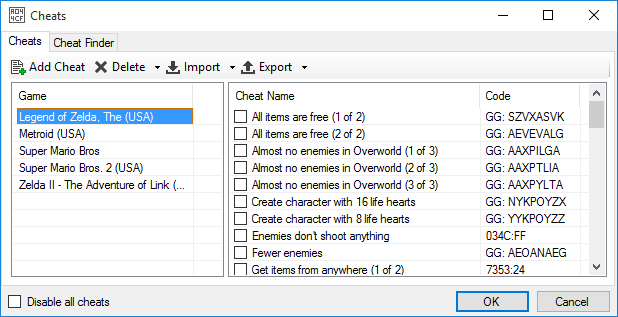 Cheats Window
Mesen supports cheats in a number of different formats, including Game Genie and Pro Action Rocky codes.
It is also possible to import cheats from the built-in Cheat Database or from XML or CHT files.
Select a game on the left to see all the cheats currently available for that game.
To add a new cheat code, click the Add Cheat button.
To edit a cheat code, double-click on it in the list.
To delete a cheat code, select it from the list and click the Delete button.
To import cheats, click the Import button.
To export cheats to an XML file, click the Export button.
To disable a specific cheat, uncheck it from the list.
To disable all cheats, check the Disable all cheats option.
Adding/Editing Cheats
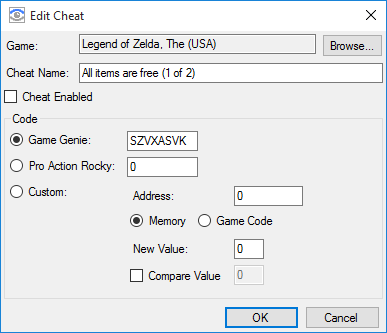 Edit Cheat
When adding a cheat, you must first select the game to which it should be applied. By default, the game that is currently loaded will be selected.
You must give each cheat a name, which will be used to display it in the cheats list.
The Code section lets you enter the actual cheat – select Game Genie for Game Genie codes.
If you want to create a custom code, select the Custom action.
When creating custom codes, the Memory / Game Code options select whether the code should be applied to a specific CPU address (Memory) or a specific offset in the PRG ROM (Game Code).
Importing Cheats
From the Cheat Database
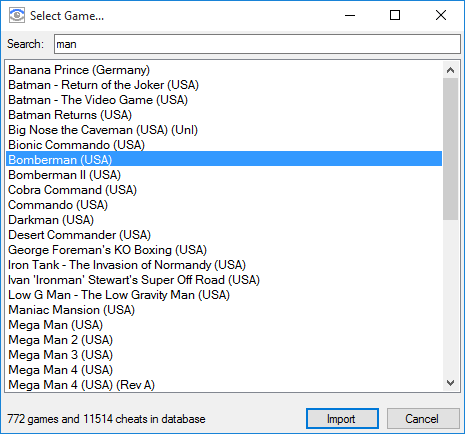 Import cheats from the built-in cheat database
To import from the cheats database, click Import and select From Cheat Database.
In the next dialog, select the game for which you want to import cheats. You can type in the Search bar at the top to filter the game list. Once you’ve selected a game, press OK – this will import all cheats for that game into the cheats list. You can then manually enable any cheat you want to use.
By default, the game that is currently loaded will be selected for you. Having no game selected when the dialog opens indicates that there are no built-in cheats available for the game that is currently running.
From XML/CHT files
To import cheats from external files (FCEUX’s .cht files or Nestopia’s .xml files), click Import, and select From File (XML, CHT).
In the next dialog, select the file you want to import.
For FCEUX’s .cht files, you will also need to select the game for which you are importing cheats for.
Once you’re done, click OK – the cheats will be imported and added to the cheats list.
Sound Recorder
The sound recorder allows you to record uncompressed .wav files. The .wav file will use the exact same output settings as Mesen’s audio options – this means the sample rate will match Mesen’s current sample rate, and that any sound modification (volume, panning, equalizer or effects) will also be applied to the .wav files.
To start recording, use the Tools→Sound Recorder→Record command.
To stop an on-going recording, use the Tools→Sound Recorder→Stop Recording command.
Video Recorder
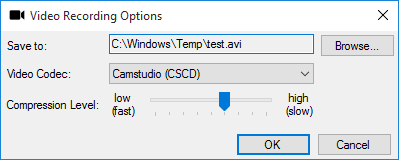 Video Recorder
Much like the sound recorder, the video recorder allows you to record .avi files.
Before you start a recording, you can select where to save the .avi file and which video codec to use. All video codecs are lossless codecs – the only reason to reduce the compression level to a lower level is to improve performance in the event your computer is having a hard time recording the video and running the emulation at its normal speed at the same time.
To start recording, use the Tools→Video Recorder→Record command.
To stop an on-going recording, use the Tools→Video Recorder→Stop Recording command.
Log Window
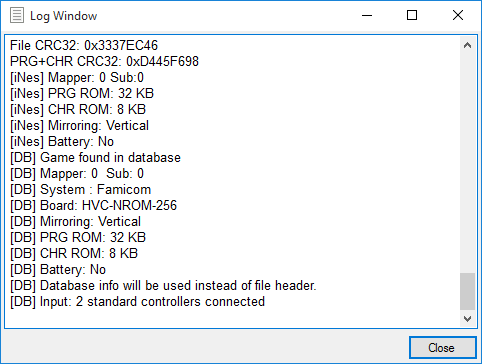 Log Window
The Log Window displays a number of useful information – mostly about the roms you load.
It is also sometimes used as a way to log errors or warnings.
Debugger
See Debugging Tools
HD Pack Builder
See HD Packs